| |
|
Entry Date
|
Nick Name
|
Location
|
|
Saturday, September 10, 2011
|

|
Ssmittyy
|
Utah, USA
|
 |
Entry 54 of 61 |
 |
|
|
|
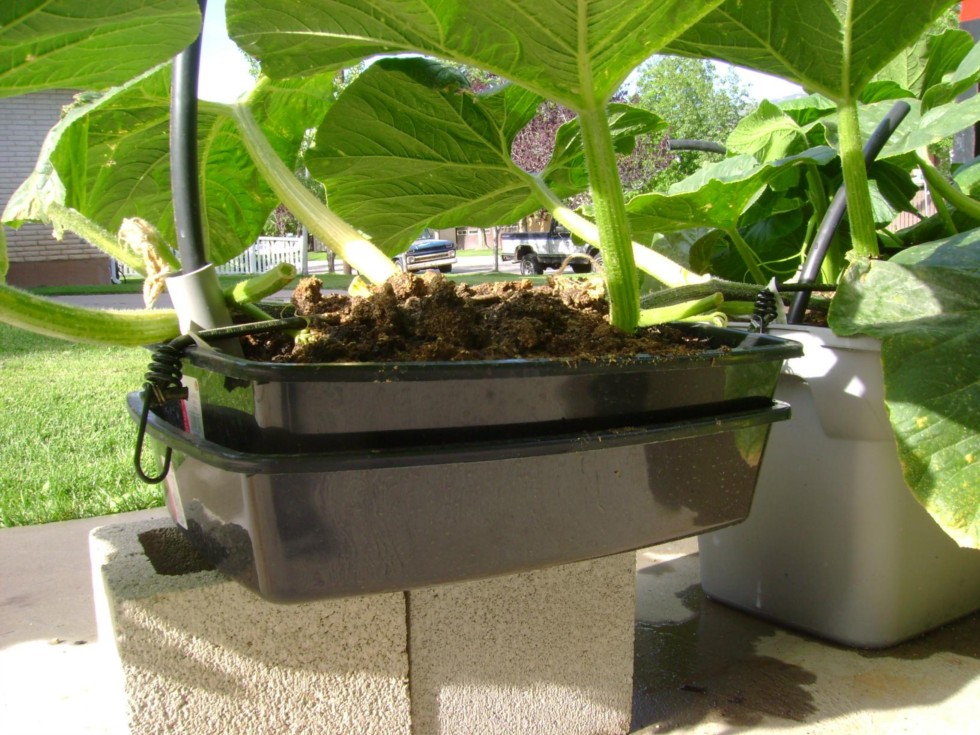
Several people have asked me for more details about my cheapo hydroponic grow boxes. I got most of my inspiration from Diamond Bar Grow Systems, you can see their fancy grow boxes at dbgrosystems.com . If you have the money...they work wonderfully. I'm a little :)- cheaper than that, so I built my own out of whatever was handy; 5 gallon buckets, dollar store wash tubs and kitty litter boxes, Home Depot storage tubs, etc. If you try to use the premade planter boxes with water reservoirs from Lowe's and Walmart, they don't hold enough water for large plants on hot days.
If you use plastic wash tubs or kitty litter boxes,Place one box inside of the other with something to support the top box above the water line. I found cheap plastic 3" tall cereal bowls at the Dollar stores and drilled 1/4" drain holes in their bottoms. I measured the height of the bowls and drilled a 1/2" drain hole in the side of the bottom box, 3/4" below the top of the cereal bowl. This gives a 3/4" air gap between the top of the water and the bottom of the top box. This is important to prevent drowning your plants. Next, I drilled a 1-1/4" hole inthe bottom of the top box to install a 1" PVC stand pipe. This pipe will stick up above the top of the top box and extend to the bottom of the bottom box, allowing you to check your water depth and add water as needed. Next, I drilled 4 each 5/8" holes in the bottom of the top box, one in each corner. These holes allow wicking ropes to be placed through the top box into the water of the bottom box. The wicking ropes draw water up to the potting mix in the top box without drawing too much water. They also serve as a guide for the roots to find the water in the bottom box. My giant pumpkin roots actually float on the water of the bottom box.
|
|
|